


Efficient Gutter Guard Installation Tips
- May 4
- 4 min read
Installing gutter guards is a smart way to protect your property from water damage caused by clogged gutters. Proper installation ensures that your gutters function efficiently, reducing maintenance and extending their lifespan. In this guide, I will walk you through practical steps and tips to achieve an efficient gutter guard installation that will keep your gutters clear and your home safe.
Understanding the Importance of Gutter Guard Installation Tips
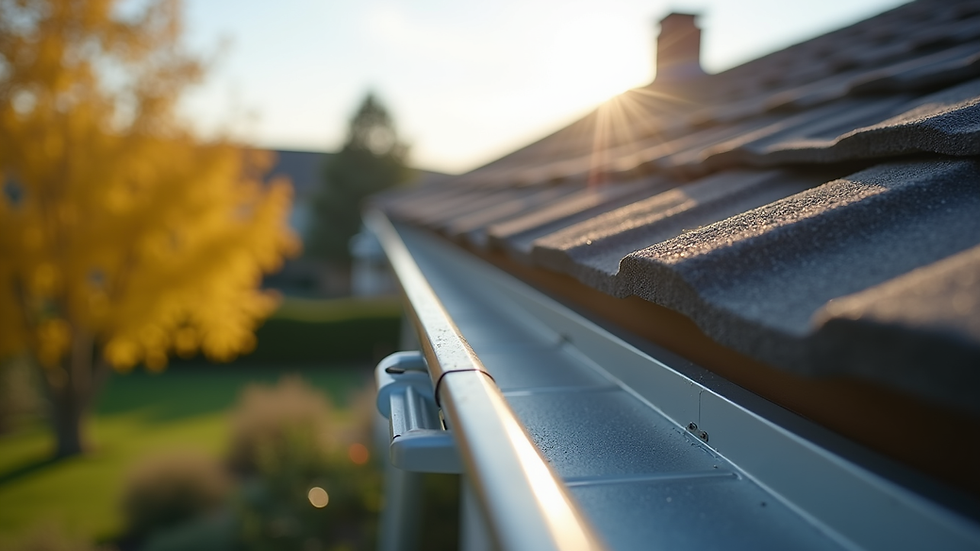
Before diving into the installation process, it is essential to understand why gutter guards are necessary and how proper installation impacts their performance. Gutter guards prevent leaves, twigs, and debris from clogging your gutters. This helps avoid water overflow, which can damage your roof, walls, and foundation.
When installing gutter guards, attention to detail is crucial. Poor installation can lead to water bypassing the guards or debris accumulation on top, defeating their purpose. Here are some key tips to keep in mind:
Choose the right type of gutter guard for your roof and climate.
Clean gutters thoroughly before installation.
Secure guards firmly to prevent displacement during storms.
Ensure proper slope and alignment for water flow.
Inspect and maintain guards regularly.
Following these tips will help you get the most out of your gutter guard system.
Step-by-Step Guide to Efficient Gutter Guard Installation
Now, let's go through the installation process step by step. This method applies to most common types of gutter guards, including mesh, screen, and reverse curve models.
1. Prepare Your Tools and Materials
Gather the necessary tools before starting:
Ladder
Work gloves
Screwdriver or drill
Tin snips or utility knife
Measuring tape
Sealant (if required)
Gutter guards
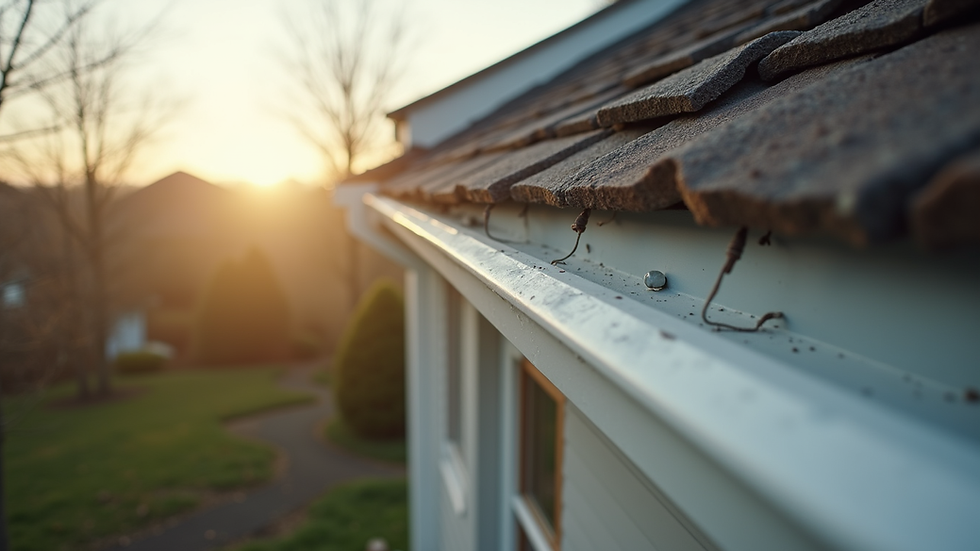
2. Clean Your Gutters
Remove all debris from your gutters and downspouts. This step is critical because gutter guards work best when installed on clean gutters. Use a scoop or trowel to clear out leaves and dirt, then flush the gutters with water to check for proper drainage.
3. Measure and Cut Gutter Guards
Measure the length of your gutters and cut the gutter guards to fit. Use tin snips for metal guards or a utility knife for plastic types. Make sure the cuts are straight to ensure a snug fit.
4. Attach the Gutter Guards
Depending on the type of guard, installation methods vary:
Mesh or screen guards: Place the guard over the gutter and secure it with screws or clips.
Reverse curve guards: Attach the guard to the front edge of the gutter, allowing water to flow over the curve into the gutter while debris falls off the edge.
Make sure the guards are firmly attached and aligned with the gutter edge.
5. Seal Joints and Edges
If your gutter guards have joints or seams, apply a waterproof sealant to prevent leaks. This step is especially important for metal guards.
6. Test the Installation
After installation, run water through your gutters using a hose. Check for any leaks or areas where water overflows. Adjust the guards if necessary to ensure smooth water flow.
Following these steps carefully will result in a durable and effective gutter guard installation.
Why is Gutter Guard Installation So Expensive?
Many homeowners hesitate to install gutter guards because of the perceived high cost. Understanding the factors behind the expense can help you make an informed decision.
Material Quality
High-quality gutter guards are made from durable materials like stainless steel or heavy-duty aluminum. These materials resist rust and damage, ensuring long-term protection. Cheaper materials may save money upfront but require frequent replacement.
Labor and Expertise
Proper installation requires skill and experience. Professionals must work safely at heights and ensure the guards fit perfectly. This labor-intensive process adds to the cost but guarantees a reliable installation.
Customization and Complexity
Every roof and gutter system is unique. Custom fitting guards to irregular gutters or complex rooflines takes additional time and effort. This customization increases the overall price.
Long-Term Savings
While the initial cost may seem high, gutter guards reduce maintenance expenses and prevent costly water damage. Investing in quality installation pays off over time by protecting your property.
Maintenance Tips for Long-Lasting Gutter Guards
Once your gutter guards are installed, maintaining them is essential to keep them functioning well. Here are some practical maintenance tips:
Inspect guards twice a year, especially after heavy storms.
Remove any debris that accumulates on top of the guards.
Check for loose screws or clips and tighten them.
Clean downspouts to prevent blockages.
Trim overhanging branches to reduce debris falling into gutters.
Regular maintenance will extend the life of your gutter guards and keep your gutters flowing freely.
Choosing the Right Gutter Guards for Central Texas
Central Texas experiences a mix of weather conditions, including heavy rains and occasional droughts. Selecting gutter guards suited to this environment is important.
Mesh guards are excellent for filtering out leaves and small debris while allowing water to flow freely.
Reverse curve guards work well in heavy rain but may require more frequent cleaning.
Foam guards are easy to install but can degrade faster under intense sun exposure.
Consider your roof type, local weather patterns, and budget when choosing gutter guards. Consulting with a local expert can help you make the best choice.
Final Thoughts on Efficient Gutter Guard Installation
Efficient gutter guard installation protects your property from water damage and reduces maintenance efforts. By following the steps and tips outlined here, you can ensure a successful installation that lasts for years.
If you want to learn more about professional gutter guards installation, consider reaching out to trusted local experts. Proper installation combined with regular maintenance will keep your gutters clear and your home safe from water damage.
Taking the time to install gutter guards correctly is a valuable investment in your property’s future.


Comments